L2 Switching & VLANs Lab troubleshooting

This lab explores basic configurations to practice VLANs and switching concepts
you can download the lab from thekeithbarker.com under the name "Cisco PT Layer 2 Switching and VLANs"
then extract the files, open the ".pkt" file and follow along with me
Lab Objective: use the laptop to open the web page on the Server at 10.67.83.35
- Use VLAN 10 for the Laptop and Server.
- VLAN 10 is supporting the IPv4 network of 10.67.83.32 /27
Assumptions:
- Trunking is already configured between switches.
- DHCP services are already enabled for VLAN 10.
Let's start
- Laptop:

enter the Laptop's physical configurations and click on the power button
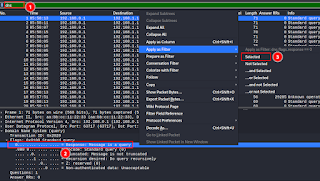
after that, you notice the appearance of the wifi signals and the APIPA IP address which mean that it is not connected to the DHCP server

- Switch 3
show vlan brief
there's a vlan 10 and port fa0/2 is part of it

show interface fa0/2 switchport
fa0/2 is an access port on vlan 10

show interfaces trunk

- Switch 2

- Switch 1
show interface trunk
port fa0/2 is a trunk port

let's verify now fa0/1
show interface fa0/1 switchport
the interface fa0/1 is part of vlan 1

let's lists the VLANs in this device and confirm the old result
show vlan brief
VLAN 10 doesn't exist in Sw1, and fa0/1 is part of the native VLAN

- create the VLAN
- config terminal
- vlan 10
- assign the interface to it
- int fa0/1
- switchport mode access
- switchport access vlan 10
- or you can assign the interface to the VLAN and it creates the VLAN automatically

- Switch2
we need to go back to Sw2 and add the VLAN 10
because if a switch received an 802.1Q and the Vlan's ID doesn't exist in its configuration, it can't understand it so it will be dropped
we wait a moment for the DHCP request to kick in and we can notice that the Laptop's IP address is changed


Comments
Post a Comment